Monday 7 November 2016

Exposition d'estampes / Print Exhibition


 Exposition d'estampes / Print Exhibition 

C'est avec grand plaisir que je vous invite  à visiter mon exposition solo d'estampes 
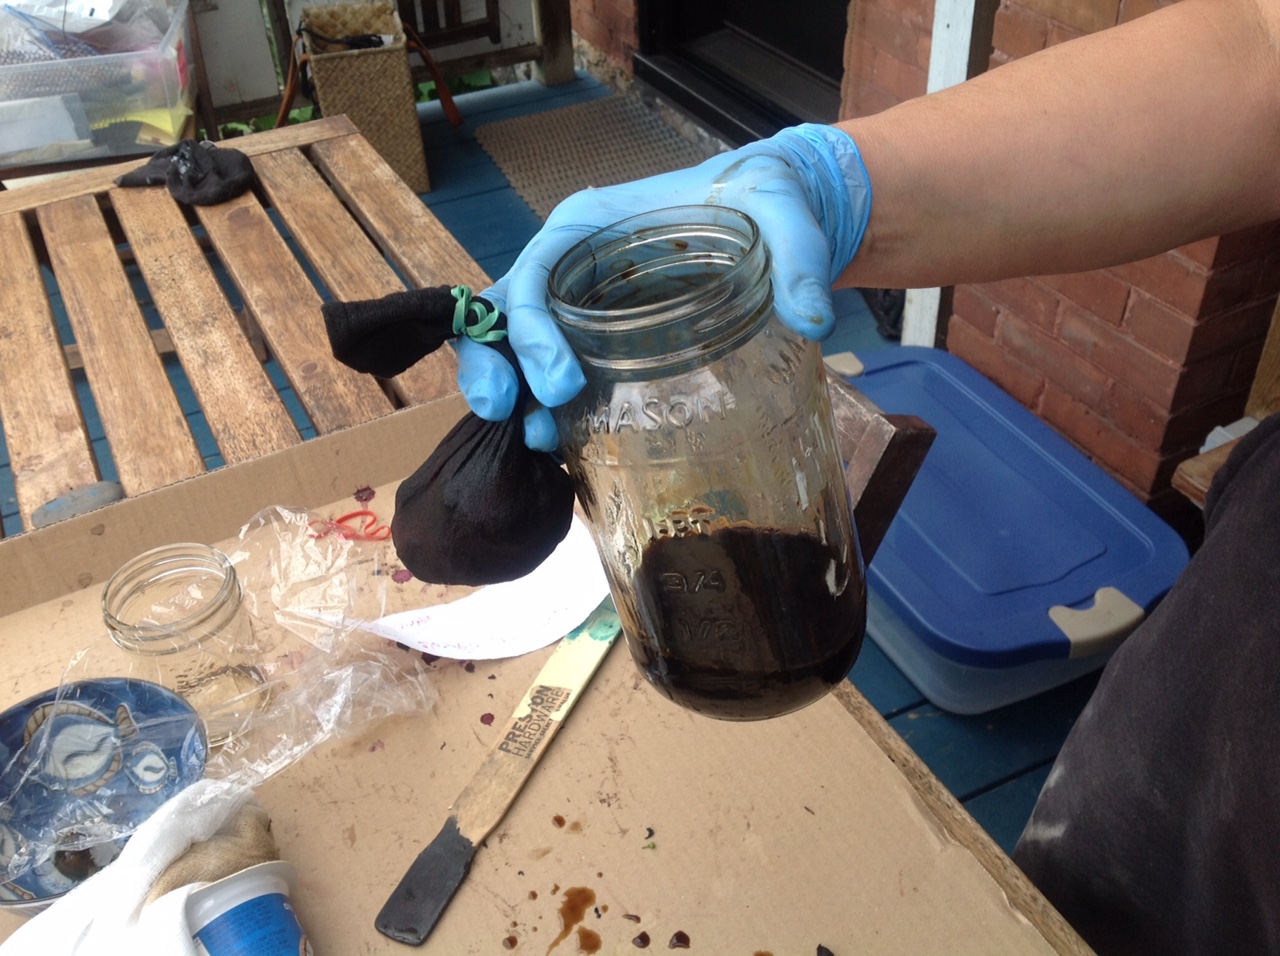
Un dernier petit coup de torchon pour les traces de doigts


Explorations sans queue ni tête par Madeleine Rousseau
Madeleine Rousseau présente des estampes sans thème apparent, mais reliées par son voyage exploratoire de plusieurs techniques d’impression depuis ses débuts il y a trois ans.

Treize estampes  de linogravure, gravure sur bois, collagraphie, pointe sèche, impression de végétaux et métaux (traduction libérale de 'ecoprinting’), marbrure suminagashi et typographie sont rassemblées pour cette exposition. 

Du 3 novembre au 23 décembre 2016
Organisée par le Collectif d'artistes graveurs d'Ottawa Gatineau 
Centre des arts créatifs de Nepean
35 rue Stafford Ottawa Ontario
Pour les heures d’ouverture, appeler le 613-596-5783

Left: letterpress print; Right: linocut print

This is a great pleasure to invite you to my solo exhibition of prints

“Random Explorations” by Madeleine Rousseau

Madeleine Rousseau presents prints depicting seemingly random subjects, but linked together by her journey of exploration of several printmaking techniques since she started printmaking three years ago.   Thirteen prints based on  linocut, wood engraving, collograph, drypoint, ecoprinting, suminagashi marbling  and letterpress techniques make this exhibition.  

November 3-December 23 2016
Organized by the Ottawa Gatineau Printmakers Connective
Nepean Creative Arts Centre 
35 rue Stafford Rd (Bells Corners) Ottawa ON 
For gallery hours call 613-596-5783 

Saturday 8 October 2016

Eco Printing on paper


Drying eco-prints on the clothes line 
  I took a  workshop on ecoprinting in June 2015, with master ecoprinter Wendy Feldberg in Ottawa, organized by the Out-of-the-Box fibre artists in Ottawa. I learned a lot and had so much fun discovering to things turned out.Wendy has a great blog where her ecoprinting experiments and experience are well documented.  The summer was coming to a close in September and I realized that this month would probably be one last opportunity to harvest my garden and to work outside to ecoprint.  So i got the great notes of the workshop out and started.  

Basic lasagna technique. The ecoprinting technique I used is what I will call the 'lasagna' method!  It consists of  layering  plant material and/or ferreous metals between sheets of paper, resulting in a bundle of sheet of papers separated by pigment-based material.  Then the bundle is compressed by some weights (I used old bricks) to ensure contact between paper and plants, and then is  exposed to steam for a couple of hours. With this method each sheet of paper will be printed on both sides, and each side can have a very different print, rather than a mirror image. 

Preparation. I wanted to print on paper (rather than fabric), so I choose Fabriano watercolour paper 140 lbs.  90 lbs paper is okay but more fragile. The paper was soaked in a solution of alum for 12 hours.  The alum will given some  mordant to the paper, so the vegetal pigment can bind to the paper better.

Set up to steam the paper/vegetal material lasagna
Paper soaking in an alum solution


Plants. I used hibiscus flowers, rose leaves, ferns, coleoptis leaves and flowers, yellow and red onion skins, geranium leaves, used ground coffee, black tea mixes, sumac leaves, flowers of  nasturtium,  leave of iris, leftover grape pulp (after making jelly) and  flowers of black eye susan flower and  some of the walnut husks leftover from previous project (see blog post on making walnut ink).  I also tried algae ( dry) and some tree seed pods. Wendy told us about ferrous objects creating interesting  prints and affecting the colour of the pigments from plants, so I added a cheese grater, nails and  other rusting metals. 

Here are some of the prints, along with the pigmented material arrangement.
Fig. 1a Some onion skins, sumac leave, hibiscus petal, coffee grounds, grape pulp
 and a piece of rusting iron are deposited on the paper

Fig. 1b) The two sheets facing each other  after taking out the bundle from the steamer 
Fig. 1c) This is the dry ecoprint on the sheet of paper 

Fig 1d) This is the ecoprint on the sheet of paper  placed on top of the plant material in Fig. 1a. Sumac print is shadowed; onion skin, iron and hibiscus flower petal and grape pulp  are  strong.
Grape pulp might produce  a fugitive print, meaning it will fade over time.
Onion skins responded very well (Fig. 2).
Fig. 2 Close up of onion skin on the damp paper after steaming for a few hours
Hibiscus flower petal made a great print in a surprising tint (Fig. 3).
Fig 3a) Hibiscus flower petal
 
Fig 3b) Print of the hibiscus material

 Rusting metal made a strong statement.
Fig. 4a) Rusting iron cheese grater is included

Fig 4b) Opening the lasagna

Fig 4c) Dry print of the cheese grater on bottom sheet

Fig 4d) Dry print on the top sheet

Fig 4e) Dry print on the other side of sheet in Fig 4d).  in other words, the mark made by the rusted cheese grater went through the paper and registered on the other side too.


Fig 5 Bricks were installed on top of the 'lasagna' during the steaming.
 The bundle was turned over mid-way in the steaming process
to expose the top layer to more steam


Printed papers were rinsed to remove vegetal matters, and then hung to  drip. Later when almost dry, the sheets were layered and placed under some weight to flatten.

Monday 3 October 2016

I made my own walnut ink / J'ai fait ma propre brou de noix!


Calligraphy with home-made walnut ink
Walnut ink is  a liquid derived from the husk of walnuts, with staining properties.  It has been used by visual artists as a drawing and lettering medium. Walnut ink is made from natural pigment that develops when the husk- the external  fleshy envelope of the walnut starts rotting, turning from lime green when it is attached to the tree to dark brown after it has fallen off. Calligraphers like it as a lettering medium; its sepia tone creates softer effects than black ink  and can be used for washes. I was puzzled to hear that sometimes what can be referred to as walnut ink may actually be  peat-based. 
I have been curious to learn how ‘real walnut ink’  can be made,  true to its name. And maybe, I could make my own;  I noticed the availability of walnuts with their husk  at the Ottawa Farmer’s market during the month of August.   

Fresh walnuts with their husks at varying degree of decomposition
With the help of Youtube videos I found out that the process of pigment extraction can be fairly simple. In a nutshell (pun intended!), one can soak a given weight of black husks in  a given volume of water (initially very hot)  and let it sit for 2-4 days. After straining, you have walnut ink.  Another method consists of  boiling the entire walnuts with their husk for a while, and let the liquid reduce until the desired tint is obtained.  I tried both and  got very similar results.

Walnuts with black husks 
Black husks peeled from walnuts
I purchased a mix of green and blackened husked walnuts  and let them all become black on a window sill for several days (Do not leave it too long piled up as cute little green worms start wiggling in the husk flesh…).  Then I  peeled  the husk from enough walnuts to yield about 1 ounce of it. I placed it in a stocking  and tied it with an elastic band, dropped it in a glass jar and covered it with about ½ cup of steaming hot water (I used rainwater, but some suggest using distilled water).  I let it sit for 4 days.  

I then took out the pouch of husks and squeezed it in the jar to extract the concentrated pigment.  I strained the liquid again through a cheese cloth and voilà- my own walnut ink!  This is messy so wear protective wear (gloves, etc and protect your working surfaces against staining. 

Some suggest adding a drop of bleach to prevent mould growth.  I tried it on a small quantity of ink, thinking it might weaken the pigment, but it did not seem to.  Other suggested adding a bit of  gum arabic to improve smoothness of the fluid.


Pulling out the pouch of husks
Ahhh.. squeezing out the 'sepia gold'


Et voilà!

Another method: boiling the whole nuts
and reducing the liquid
I also used the other method of boiling the entire walnuts  until the reduction reaches the tint desired.  That is more work, as one needs to use dedicated coockery for that, and supervision while it is on the cooktop.   I did not see a difference in the resulting walnut inks.


It is a special feeling to do calligraphy with your own walnut ink!   If you do not have access to walnut husks, calligraphy equipment supplier like John Neal in the US sells a kit that includes the husks in a pouch, instructions, and a link to a Youtube video.

Saturday 17 September 2016

Fused Glass project/ projet de verre fusionné

En août j'ai 'étrenné' mon nouveau four pour verre fusionné acheté usagé chez Northern Glass à Ottawa.  Un jour que j'allais m'acheter du verre pour vitrail , ce four était là, à vendre et je me suis dit que s'il était toujours là quelques jours plus tard, ça voulait dire qu'il était pour moi!!
Northern Glass s'achetait de nouveaux fours avec de meilleurs contrôles de température et ils se défaisaient de leur vieux modèles, qui m'assurait-on, fonctionnaient bien.
 J'avais pris deux cours à Northern Glass pour explorer la technique et j'avais aimé!  Let's go! More equipment!
J'ai acheté le four à l'automne et je ne voulais pas le faire fonctionner dans la maison pour la première fois, comme ça monte quand même à 1400F et que le processus amène des émanations de gaz pas trop bons pour la santé...  Donc il a passé l'hiver  sur le plancher dans un coin de la salle à manger (grand mot pour un autre espace de travail pour mon stuff la plupart de l'année) .

 Cet été, par une belle journée pas trop chaude, je me suis décidée à sortir mon équipement, et j'ai invité D à venir en faire avec moi sur la galerie arrière.  Je voulais faire une plaque pour suspendre devant une fenêtre de la cuisine. D voulait faire des poissons pour un mobile.

Les résultats ont été  très bien.  C'est vraiment fascinant de voir le verre se transformer, et d'apprendre que le verre  trouve sa stabilité dimensionnelle en épaisseur de 6 mm ( 1/4 po).  Donc si on empile le verre jusqu'à 8 mm, la pièces finie sera plus large qu'originalement car le verre va chercher à s'étendre pour atteindre 6 mm d'épaisseur!  C'est intéressant de découvrir la personnalité du verre..moi dont la job était de présenter les propriétés des matériaux de construction...la fusion du verre n'était pas dans mon univers à ce moment-là... Je suis si bien ici maintenant.
Notre installation pour tailler le verre

Ma pièce déposée dans mon 'ti-four'
Mon ti-four


Ma pièce finie! Prochaine fois, penser à une manière intégrée pour un support

Friday 1 July 2016

Print Exhibition in Ottawa ON/Exposition d'estampes à Ottawa ON


Ottawa-Gatineau Printmakers’ Connective /
Collectif d'artistes graveurs d’Ottawa Gatineau

Home Sweet Home
Le chez-soi

June 29 – September 8, 2016
Du 29 juin au 8 septembre 2016

Participating Artists/ Artistes participants(es)

Deidre Hierlihy, Ted Johnston, Tina Petrovicz, Madeleine Rousseau

“Home, Sweet Home” brings forward a different image for each one of us, as our four members demonstrate with their concept of the phrase.

Le chez-soi, un concept qui nous rejoint tous et toutes de façon très personnelle, selon notre vécu.  Ces quatre membres présentent en estampes  
ce que le terme évoque pour eux/elles. 
  
Nepean Creative Arts Centre/ Centre des arts créatifs de Nepean
35 rue Stafford Rd (Bells Corners) Ottawa ON K2H 8V8
For gallery hours call/Pour  les heures de la gallerie appeler 613-596-5783


ottawagatineauprintmakers.wordpress.com 
ottawaprintmakers@gmail.com